What is the Enrollments Widget?
The Enrollments Widget is used to provide a list of the learner's enrollments and/or assignments. This is where learners launch their enrollments and return to view content in active enrollments at any time. Active and Expired Enrollments are shown, as well as the enrollment status.
Learners are able to archive old enrollments and sort their enrollments by most Recently accessed, Newest, Title, Status or Close Date.
The Enrollments Widget must be on at least one site page, but can be added to as many site pages as desired. You may want to provide your learners with multiple locations to access their enrollments. Whenever a learner is enrolled in a product, they are automatically taken to the default Enrollments Widget page. Please see Web Pages for information about setting up the default page.
The Enrollments Widget has customization options that let you categorize the enrollments shown by creating a Tab for each defined category.
The categorization tabs enable you to give the tab a name and use the configuration options to determine what is displayed in the tab. This feature makes it possible for you to display content in a manner that matches your business-case and naming conventions.
Example: You could create a tab labeled "2015 Enrollments" and select configuration options for learning products with the 2015 tag. that tab would only display the learner's enrollments that meet those criteria.
Note: without any customization, the widget will have a single tab which will show all enrollments from all product types.
- Click the
 button to begin editing the Widget.
- Click the
 button to configure the existing tab. Click the button again to add additional tabs.
- Give each tab a Name that will be displayed to the learner.
- If you want to filter the tab by product Categories, Change the proprty from All to Choose Categories. Check each category that should be included on the tab.
- Categories are 1 or 2 word learning product descriptions and are added to a product on the Configuration Tab. They are frequently used to describe the delivery method of the product.
Examples: Online, Instructor led, Webinars, etc. - The list fo available categories is determined by your organization during implementation.
- If you want to filter the tab by product Tags, Change the proprty from All to Choose Tags. Check each Tag that should be included on the tab.
- Tags are keywords or a type of metadata that is used to describe or define some aspect of a product. They can be added to a product as a Public or Private tag on the product's Description Tab.
- Next to Include Product Types, select all of the types of products that you want to include on the tab. The default selection is Learning Products, but you can select as many other types as necessary.
- Types of Products:
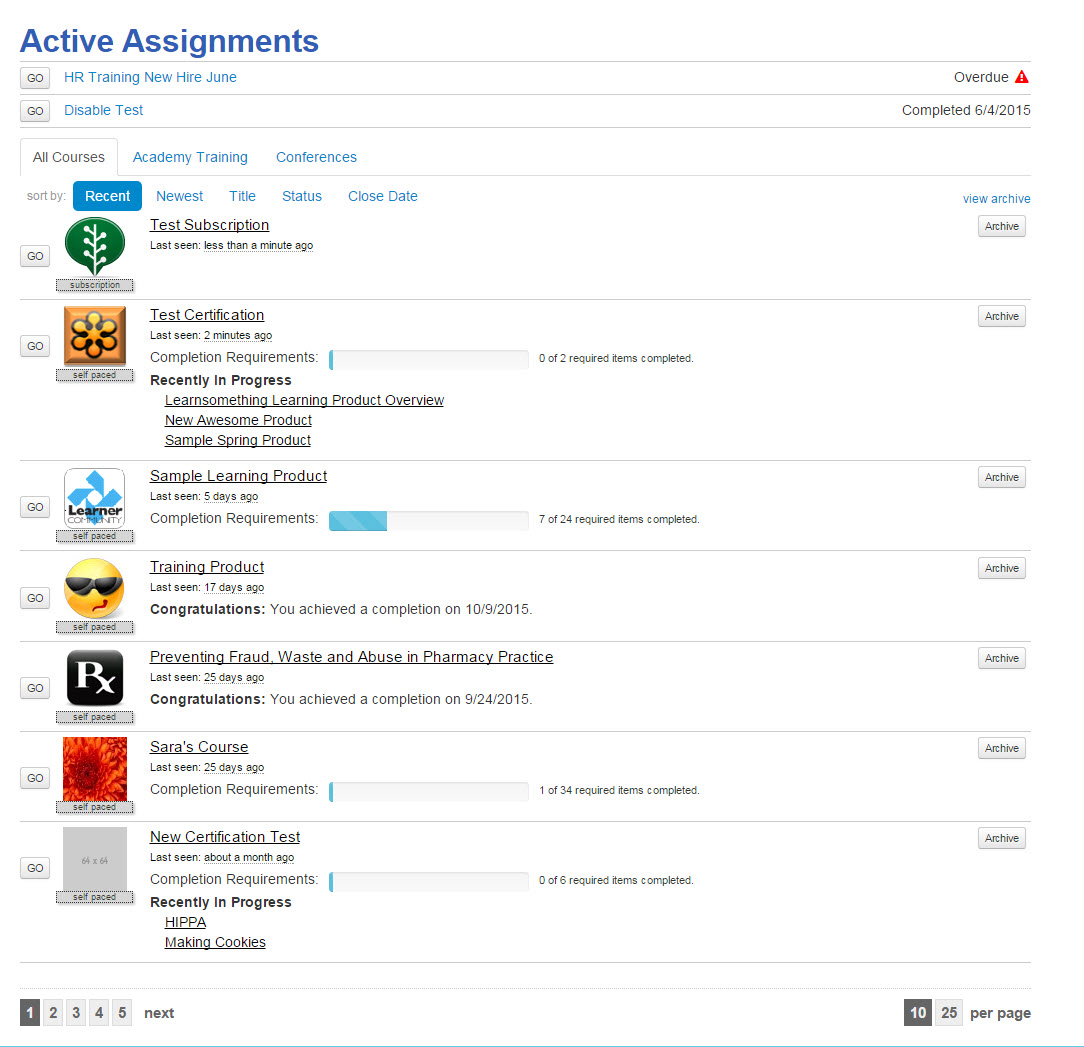
Learner view of the Enrollments Widget:
- Click the
 button or click on the product title to launch the product/course.
- To move a product to an Archive list, click the
 button to the right of the product title. This will remove the product from the main list but it will still be accessible in the archive list.
- To access products in the archive list, click the
 link above the archive buttons.
 - Products can still be launched from the archive, and can be moved back to the main list by clicking the
 button.
 - Click the
 link to return to the main list of products.
- To access products in the archive list, click the
- To sort the products, choose one of the options on the Sort By menu. The products are initially sorted to show the most recent enrollments first on each tab.

- If additional Tabs have been created to sort the products, click on a tab title in the menu list to view the products on the tab.
- Each product will display the number of completion requirements as well as the learner's progress in the enrollment.

- When a product has been successfully completed, a congratulations message will be displayed along with the completion date.

- The following message will display when an enrollment has been failed:

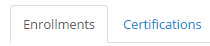
- If the Widget is configured to show enrollments in Certifications, the Certification title will be shown along with any learning product enrollments that are in progress. Click on any of the titles to view the Certification product or each individual product.
- If the Widget is configured to show enrollments in Subscriptions, you can click on the Subscription title to view the list of available learning products.
- If the Widget is configured to show enrollments in Conferences, click on the title to view the main conference page and redeem Attendance Codes.
- All active Assignments will show at the top of the Widget above the enrollments and will alert you of the due date or if the assignment is overdue. Click the button or the assignment title to enroll in and begin the learning product(s).
Example Enrollments Widget:
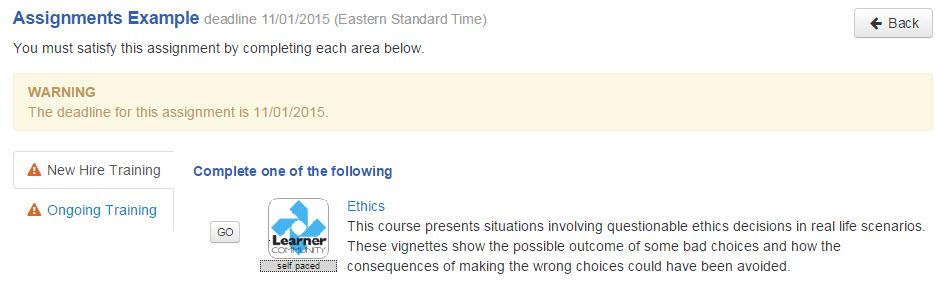
Learner view of Assignments:
- When on the Enrollments Widget page, click on the button or the assignment title to display a page that provides information about the assignment.
- The Due Date and instructions will be displayed at the top of the page.
- A warning message (highlighted in yellow) indicates that the assignment must be completed in less than 30 days.
- A warning message (highlighted in red) indicates that the assignment is overdue.
- The assignment learning product(s) will display the teaser text.
- Clicking on the learning product title or the button will launch the learning product.
- If another learning product will satsify the assignment, it will be listed under the Additional Completion Option link.
- If the assignment includes multiple learning products, use the tabs on the left to access each learning product.
- Click the
 button to return to the enrollments widget detail.
- When on the Enrollments Widget page, click on the button or the product title to launch the learning product.
- If the learning product has been configured with an Overall Score, the percentage and status will be shown at the top of the page, along with a link for more information.
- Click on the
 and
and  buttons to collapse or expand a Lesson and access the activities.
- Click on the Activity titles to launch activities.
- If the learning product includes any Credits, these will be displayed but locked until the requirements for claiming credit have been completed. When the credit is achived, a
 button will appear to let you claim the credit.
- If a lesson includes Resources these will be listed above the activities. Click on the resource title to view or download.
- If lessons or activities have been configured to include Descriptions, these will be shown at the top of the lesson or directly under the activity title.
- Each lesson will include a Progress Bar to show a visual representation of the completion progress in the lesson.

- Click the
 button to return to the Enrollments Widget page.
- Click the
 button to view the learning product in a Full Screen mode where the activity content is displayed on the right, and the course index is displayed on the left. This mode is the optimal mode for viewing on a mobile device. Click the button again to return to the traditional view.
- If the learning product includes a Completion Certificate, a
 button will appear when all of the completion requirements have been met.
- If you are reviewing a learning product as an admin on staging, Administrative Options will be shown at the bottom of the page to either Expire the enrollment, or to Expire and Re-Enroll to reset all progress. This is used to help the review/testing process on staging.