- Index
- /Learning Products
- /Configuration
- / Thumbnails
Learning Products - Thumbnails
Learning Activity Thumbnail Setup
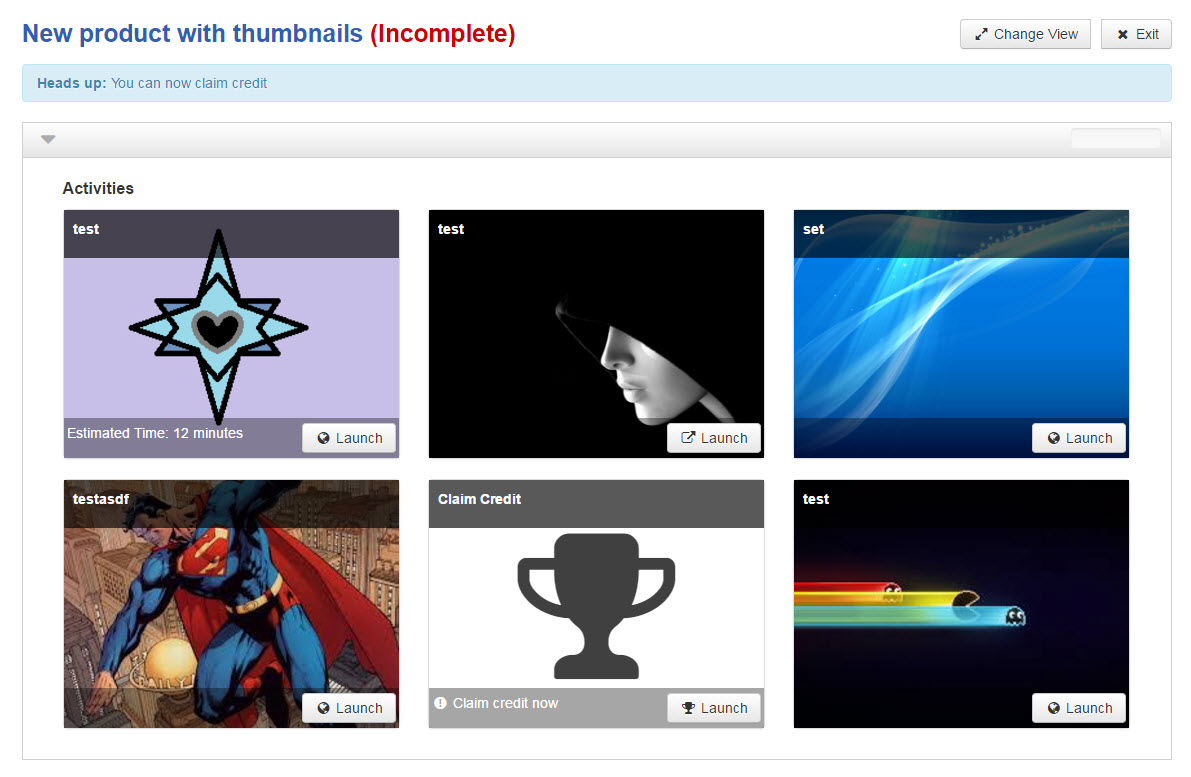
When a learner launches their enrollment in a learning product, there are two ways that the activities can be arranged and presented (in the in-template view, not in the full-screen view). The standard view lists the title of each activity and the learner can click to launch any that are unlocked. The Thumbnail view lets you add images to every activity and shows a series of image blocks. The learner can click on any block that is unlocked to launch the activity. This creates a more graphical and engaging learner experience.
On the Configuration Tab in a learning product, set the property for Uses Learning Activity Thumbnails to Yes if you want to configure the learning product activtiy page to use thumbnail images in the in-template view to represent each activity. After setting this property, you will need to upload an image in each learning activity that you add to the learning product on the Lesson Structure tab.
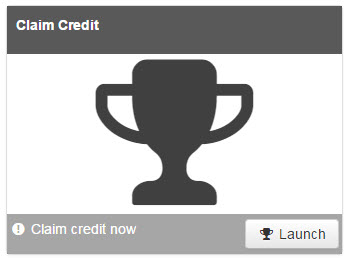
When a learning product is set to use Thumbnails, the Credit Profiles are also included in the thumbnail blocks. A default image will display (as shown below) in the credit profile location.

If the Thumbnail option is set to YES on the configuration tab of the learning product, you will need to upload a thumbnail image to each activity.
- After clicking
 and selecting the appropriata activity type, next to Thumbnail File, click the
  button.
- Select the thumbnail file from your local machine to upload it to the activity.
- Note that we suggest a file size of 600 X 600 pixels.
- When thumbnails are enabled for the product, you will be required to upload an image for every activity.
- Credit Profiles that are used in the product will automatically include the default thumbnail image.

