What are Webhooks?
A webhook is an HTTP callback that can let you receive and react to events occurring in Learner Community. Learner Community currently has support for ten types of webhook events:
- Account Idle
- Assessment Submitted
- Enrollment Completed
- Enrollment Failed
- Enrollment Idle
- Learning Activity Completed
- Learning Activity Failed
- Learning Activity Idle
- New Account
- New Enrollment
- Learner Updated
Using these events from Learner Community, you can send them to your own service or hook them up to a service like Zapier or IFTTT. Zapier and IFTTT are services that act as event proxies, allowing you to easily configure integrations between multiple systems. They provide integration options with hundreds of applications and services out of the box.
To help get the ideas flowing, here are basic example use cases:
- Send message (text, automated call, Slack, etc.) to a help desk when someone fails an activity or enrollment
- Send a text message to a user if their enrollment is idle for 30 days
- Save new completions to a Google Spreadsheet
- Push completion information to Salesforce
- Add users to a marketing/campaign contacts list upon completion
- Invite users to a Meetup upon completion of an activity
- Send a text message to a user promoting another product upon completion
- Promote your products on social media by posting about completions.
- Click on the
 button to add a new Webhook.
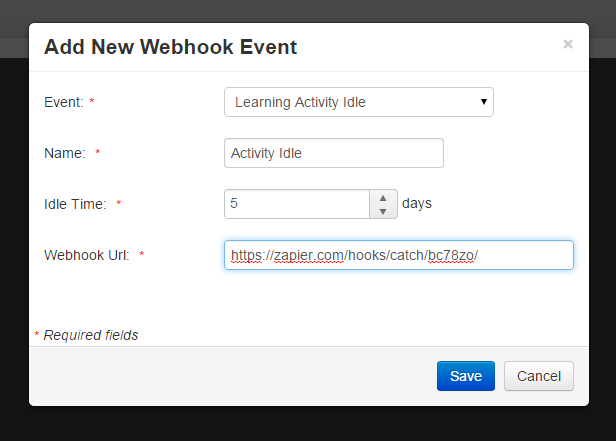
- Choose the Event to trigger the notification (currently the six listed above are available).
- Name the Webhook so that you know what it is used for.
- Enter the Webhook URL created in your event proxy service.
- Click
 .
.
- When prompted in the event proxy service, click the
 button to send the available data fields in Learner Community to the service.
Note: Webhooks can be created and tested on Staging, but should be set up on the Live site for actual use.
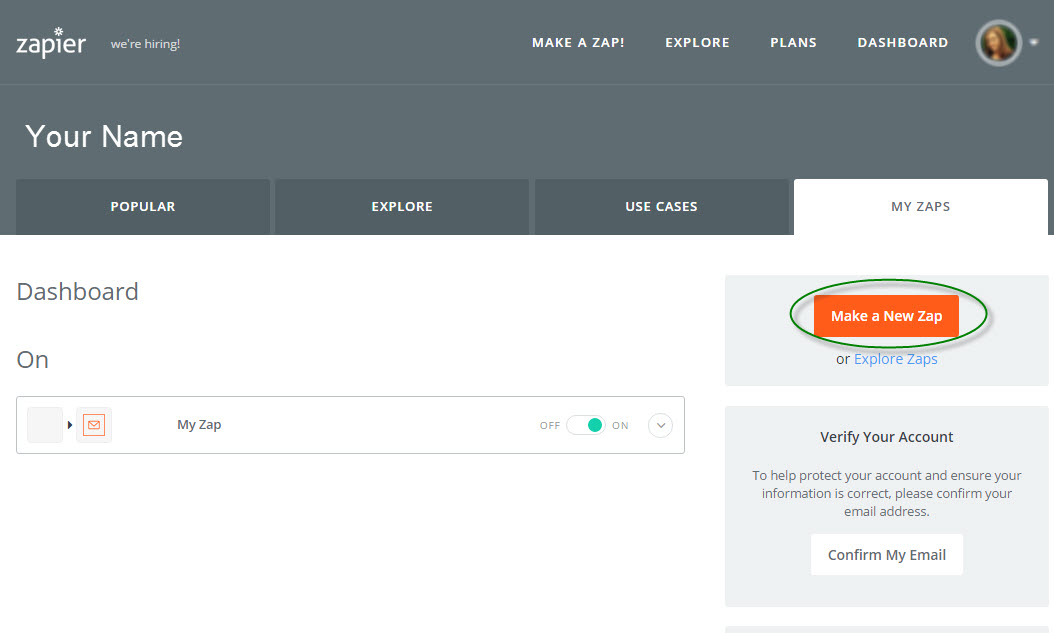
- Click the Make a New Zap button.
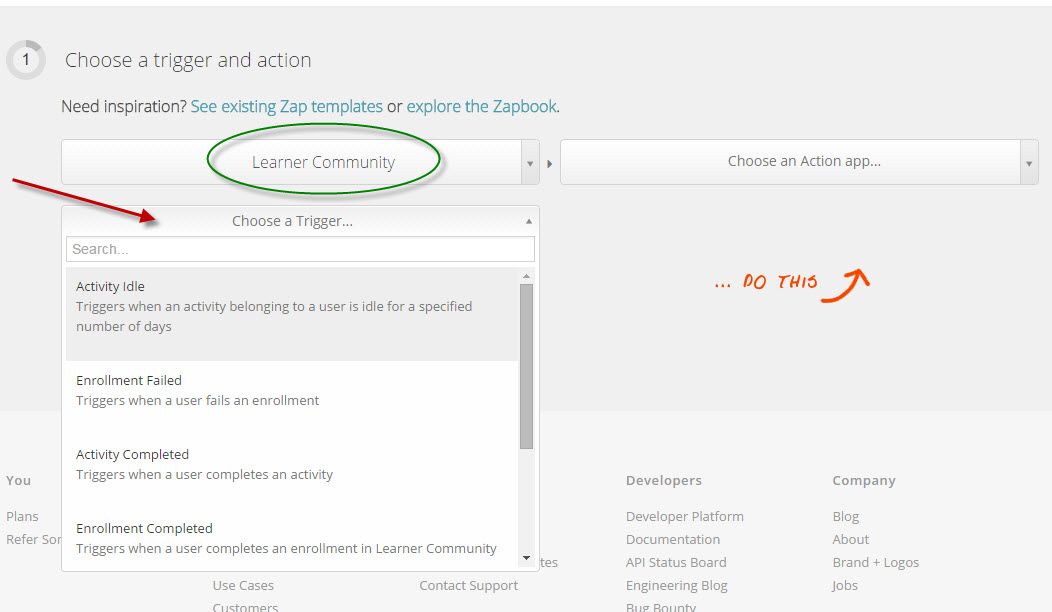
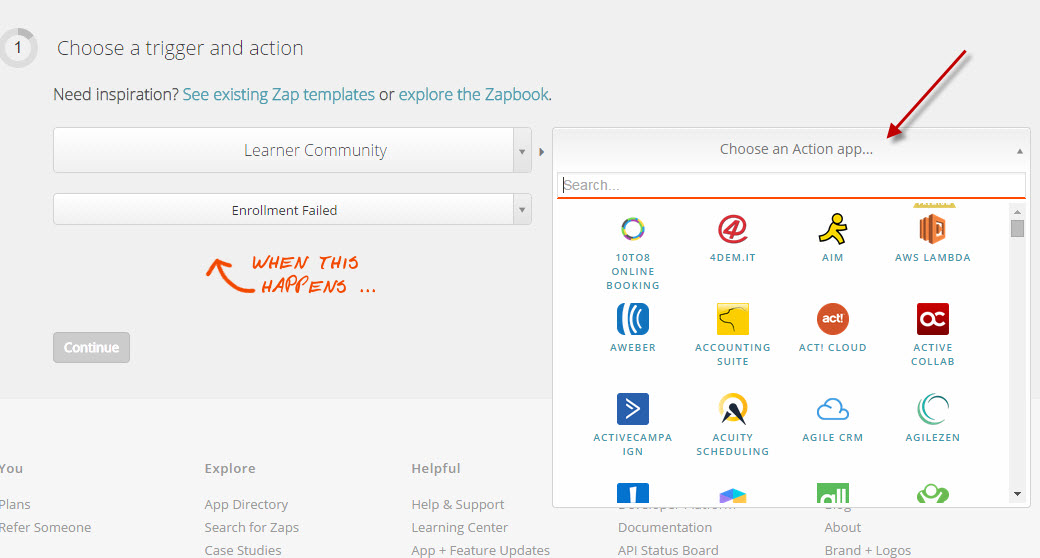
- Choose the Trigger and Action. The Trigger app will be Learner Community and the Trigger is one of the six events available in the dropdown box. Click Continue.
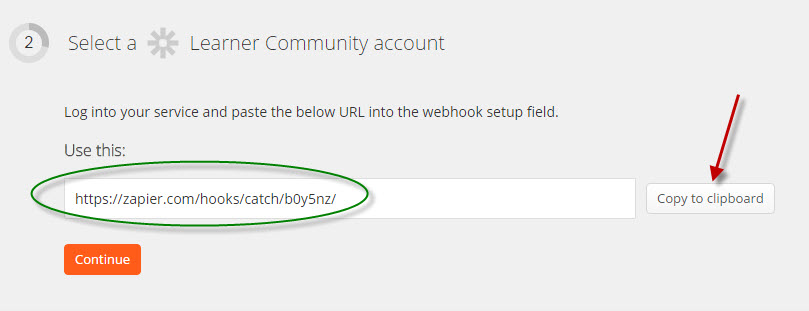
- Copy the unique service URL and click Continue.
- Go to the Admin Dashboard on your Learner Community portal (Staging for testing, Live for real data) and go to Social>Webhooks. Click the button to add a new Webhook and paste in the copied URL from Zapier. Be sure to choose the same event as the Trigger you chose in Zapier.
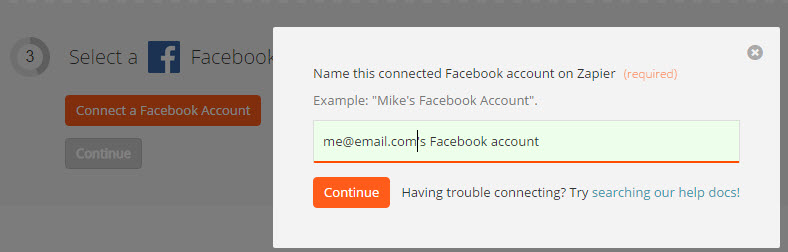
- Return to Zapier and if necessary, set the correct account for the Action. This step varies by the Action you chose.
Examples:
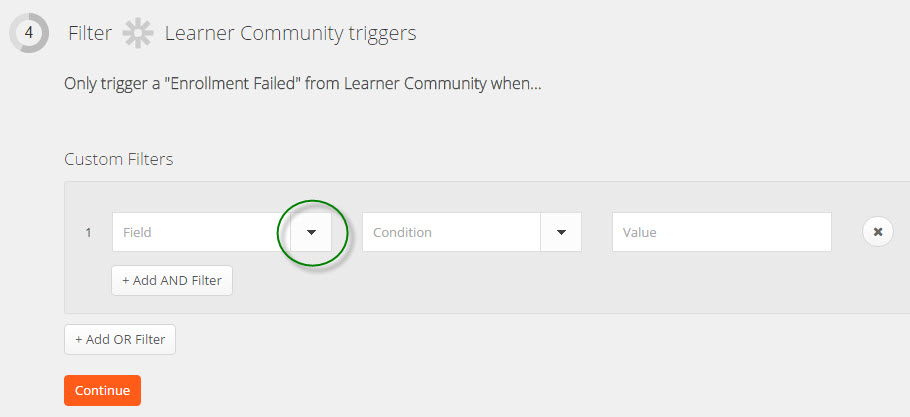
- Optionally add filters to the Trigger.
- Based on the Action you chose, you can use available fields to create your custom message. To insert fields, clik on the Insert button.
- If the fields have not already been set up, you will need to follow these steps:
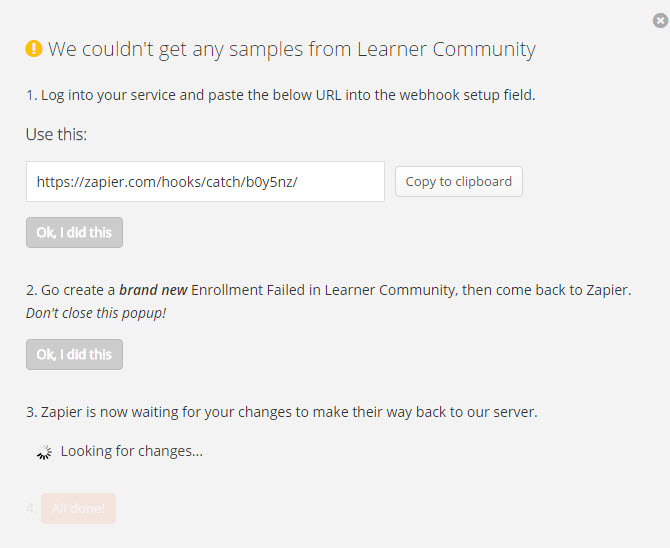
- Confirm that you have added the URL to your Webhook by clicking the Ok, I did this button.
- Go to your Learner Community portal and click the button to send a sample back to Zapier
- Return to Zapier and click the next Ok, I did this button.
- Finally, click All Done and close the modal window to return to the main page.
- Once the fields have been set up, you can select from any available fields pulled from Learner Community to customize and compose your message.
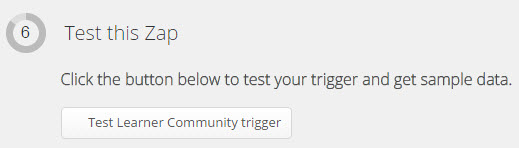
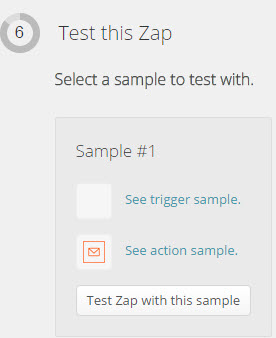
- To test, click the Test Learner Community trigger button and then the Test Zap with this sample button. This will send out a message to test your Webhook.
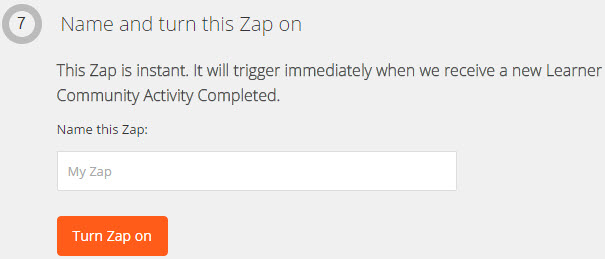
- Click Continue and then click the Turn Zap on button.